Easy HDR without a Tripod
HDR photography. Ahhh! You either love it… or you’re wrong!
The beauty of HDR is that its beautiful. High Dynamic Range photos have vibrant colors and tactile textures that make you want to sing!
One of the main inconveniences preventing more photographers getting going with HDR photography is that you need to take all your photos using a tripod. That’s right isn’t it – otherwise it just doesn’t work. But… a tripod is heavy, awkward, irritating, it slows you down, its embarrassing and that’s the end of that.
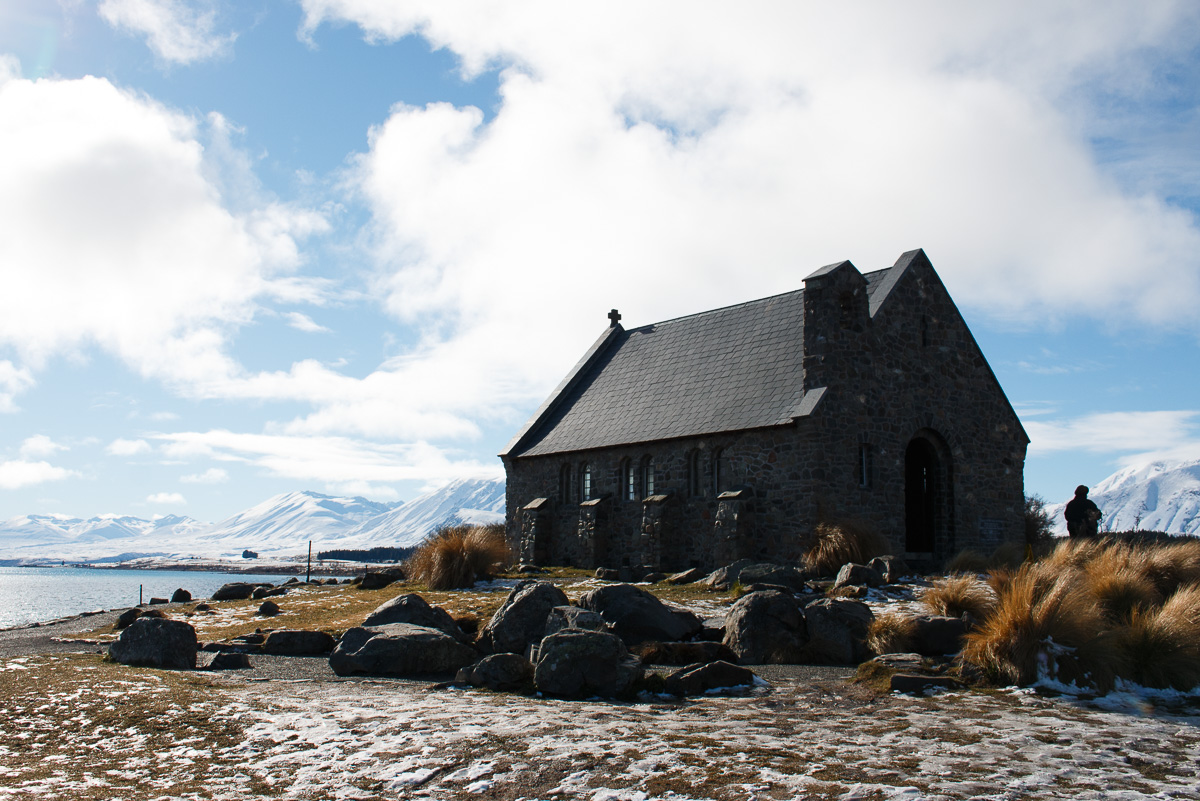
But, you see, that’s not entirely true. On a recent trip to New Zealand I cleverly left my tripod in my car back in the Sydney airport carpark. Disaster? Not quite. Check out these before and after photos of this church at Lake Tekapo, taken hand-held.
So, without further ado, here are 4 easy steps to take great photos in HDR without a tripod (these are based on the Canon 70D but most other DSLRs will have similar settings – consult your manual):
1. Setup your camera for HDR by selecting a bracket of 3 shots at -2EV, 0EV, +2EV. This is fine for most lighting situations and when hand-holding its best to minimize the amount of shots in the bracket. Always use Aperture Priority mode for HDR as this ensures all the shots have the same depth of field. And, finally, set the camera’s drive mode to Continuous Shooting – this causes the three shots to be fired off in rapid succession with only a single press of the shutter release.
2. Set your camera to a 2 second shutter delay. This gives you a crucial 2 second gap between pressing the button and the shots being taken, enabling you to re-stabilize yourself and the camera.
If you’re lucky and you have a camera with a Custom exposure mode setting, you can save all these settings and then easily access this entire HDR configuration by simply selecting the Custom mode. You should also save a preferred aperture and ISO – I’d recommend f8 and ISO100 as a good starting point for HDR. For more detail on Custom mode see this previous post.
3. Use a wide angle lens. The wider the lens the less any movements you make between (or during) exposures will be noticeable. These days the HDR software is excellent at compensating for any minor movements you do make between shots (like breathing!).
4a. Notice the shutter speed that your camera has metered for the first (normal 0EV) exposure. Then multiply this by 4. That will give you the shutter speed that it will use for the longest (+2EV over-exposed) shot. This needs to be a shutter speed that you’d be comfortable hand-holding for any normal shot. For example if the metered speed is 1/125th, then the longest exposure in the bracket will be 1/125 x 4 which is 1/30th second, which is fine if you’re using a wide angle lens. Of course anything faster is even better.
4b. If you need faster shutter speeds either increase your aperture (using lower f numbers) or if the aperture is fully open, increase your ISO. Increasing ISO will introduce more noise into the photos but modern cameras and software are getting much better at minimizing the impact of this so don’t worry about it too much.
And that’s it! With a wide angle lens, a 2 second shutter delay and a reasonably fast shutter speed, those three shots will be sharp enough and aligned enough for the software to easily iron out any discrepancies.
Having tried many different ways to process my HDR photos, I think the best results are achieved using a combination of software: Photomatix, Lightroom and Photoshop. With a bit of practice, and some tricks to streamline the process, you can get great results in only a few minutes with lots of potential for personal creativity and minimal headaches. I’ll show you how in a future post…
In Other News
If you want to keep up with all the latest trends in photography gear and techniques the only place you need to go is This Week In Photo. Its a regular weekly podcast hosted by the ultra-smooth Frederick Van Johnson.
And if you want to learn photography techniques, and how to use lightroom and photoshop there’s only one place to go for that too. The recently renamed and merged KelbyOne now combines all the online training videos from Kelby Training with all the resources of the National Association of Photoshop Professionals (NAPP). Its money very well spent!
Finally, if you haven’t already subscribed, Adobe have an amazing proposition for photographers. Get both Adobe Lightroom and Photoshop (essential post processing tools for HDR photographers) for just $9.99/month on their Creative Cloud Photography Plan. This is one of those rare times when its really easy to reach for your wallet!
Leave a reply